GETTING STARTED AND SET UP

Set up steps

These steps are also available in a .pdf for download here.

1. Register your account. You will need a valid email address. A verification code will be sent to this email. Be sure to check your junk or spam folders if you don’t receive a code in your inbox.

2. Once registered, complete the prompts for background information, which will be used to create your health summary. Note you can edit or update your details at any stage via your Profile Details found under the More icon at the bottom of the home screen.

3. Engage Biometric Login to unlock the App via face ID. Select the More icon at the bottom of the home screen, then Settings, Biometric Login and activate the toggle. This will ensure you don’t need to manually login each time you access the app.

4. Go to My Records, Select Care Team

  • Populate your Provider/Doctor details, including specialty from the drop down menu; e.g, 

    • Dr Smith, Primary Care/GP, Contact Details 

    • Dr White, Cardiologist, Contact Details 

    • Dr Black, Dentist, Contact Details

5. Go back to My Records, Select Visit Summaries

  • Set up Folders for your records. We recommend setting up a separate Folder for each Specialty. 

  • We recommend historical records eg those prior to the set up date be saved as a single document. 

    • For example: 

      • Create a folder for ‘General Practice or GP’. 

      • Then create a document for all of your historical GP records called ‘GP pre 2025' or however you wish to save any historical notes.  Hit the + and select import image (if a photo) or attach file (saved document). Locate the document(s) you want to save. Select save and it will upload.

      • You can then save all historical GP records as a single document.

6. Any new GP Doctor Visits can be saved as a visit and populated with the details as prompted. For example, within your General Practice Folder, you can select to upload either a visit or a document.

7. Repeat the above steps for each specialty.

8. Getting technical. The app can save documents and images in the following files formats: doc, docx , rtf, png, jpg, and PDF. Some healthcare providers have their documents/notes in HTML. As our app is a closed system for security reasons and to comply with HIPPA we cannot upload HTML pages. These need to be converted to PDF. You can do this simply by selecting ‘print’ on the page in your browser. On the bottom left-hand corner, there should be an option to convert to PDF. Click that button and then save the screen(s) into your files.

9. Auto-populate Function. We can request and upload your records for you using the auto-populate function – the icon is at the bottom of the Summary page of the App. Follow the pop-up instructions. You just need to complete the care team page first and add your relevant healthcare provider’s details. Our process helps you request your records and, once the records are received, they will be automatically uploaded into your app.  

If your healthcare provider has not sent you your records exactly in the way requested you can forward them to us at infocollect@maihealth.app with the unique identifier number provided to you.

10. Go back to My Records, select Medications, and populate details for any current medications you are taking. The frequency will show up in the calendar format. Do the same with any Vitamins/Supplements you are taking.

Please note that any historical medications (ie those you are no longer taking) will be extracted automatically from your saved files and saved separately as Historical Medications.

11. Go back to My Records, select Vaccine, and follow the prompts to populate. Certified vaccines will require a screenshot of the record.

12. Account Access. If you want your spouse or carer/family to have access to your records, go to Settings select Account Management and complete the email address for the Invitee you wish to have access. Note they will need their own subscription to the mA.I health App to be able to access your account.

13. Family Accounts. You can set up accounts for your children, spouse, parents via your account on your phone. Go to Settings select Account Management and then Add Account and follow the prompts. Please note each new account requires a separate email address. (As per 1. Above, check the spam/junk folders for the verification code).

Make sure when you set up to follow step 12 above and include yourself as an Invitee to be able to see the account. Once you have set up an account, say, for your child or spouse and invited yourself as an Invitee you will be able to access their accounts by pushing your profile picture icon at the top right of your Summary screen. All available switch accounts will be shown. You can easily switch between users.

14. AI Search and Retrieve. The closed circuit AI will help you retrieve saved data and search keywords in your health information e.g your Provider’s name or the word ‘surgery’ or ‘anesthetic’. Shortly after launch the AI function will be able to answer basic questions like eg “when was my last tetanus shot?” “Have I reacted to anesthetic?” It will answer the typed search query and pull up the relevant document for reference.

As we continue to develop the App, the AI feature will progress and be a verbal prompt with more comprehensive functionality linked to your personal medical profile.

15. Sharing. You can share your records with your healthcare provider (or whomever you choose) at anytime, via email or text. Just remember your information will be leaving the closed-circuit security of the app.

16. Move Records. You can move your records between Folders. Go to the Folder and select the  icon shown to the right of the record you want to move. Select Move. A little clipboard icon will appear at the top of the page beside the + sign. Navigate to the Folder you want to move the record to and push the clipboard icon to release the record into the selected Folder.

Sign up and log in

Activate Biometric log in

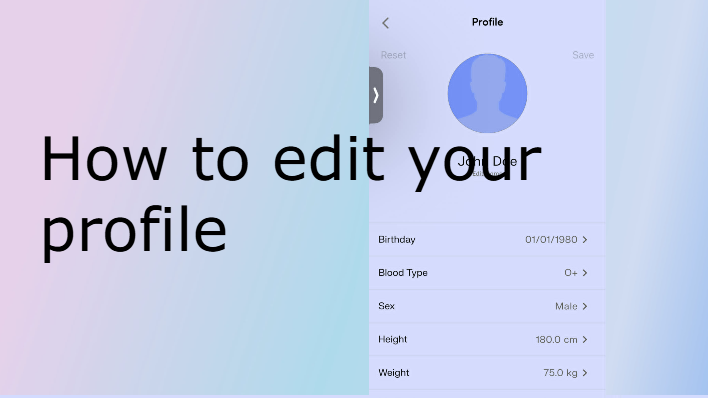
How to edit your profile and health summary

Setting up your care team and visit folders before uploading records

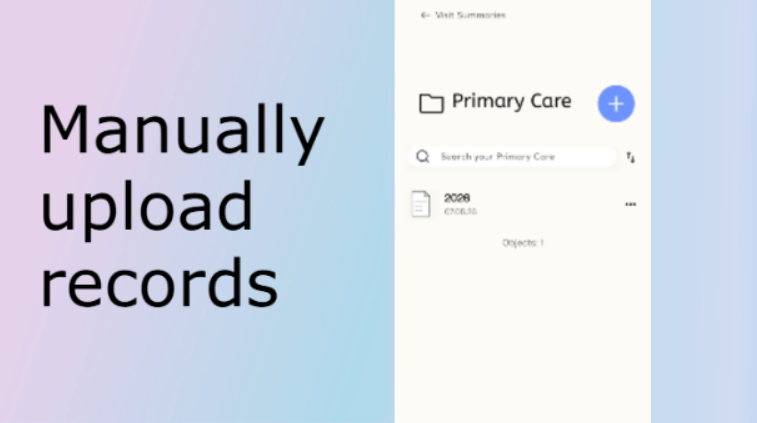
Manually upload records

Use the autopopulate function to upload records

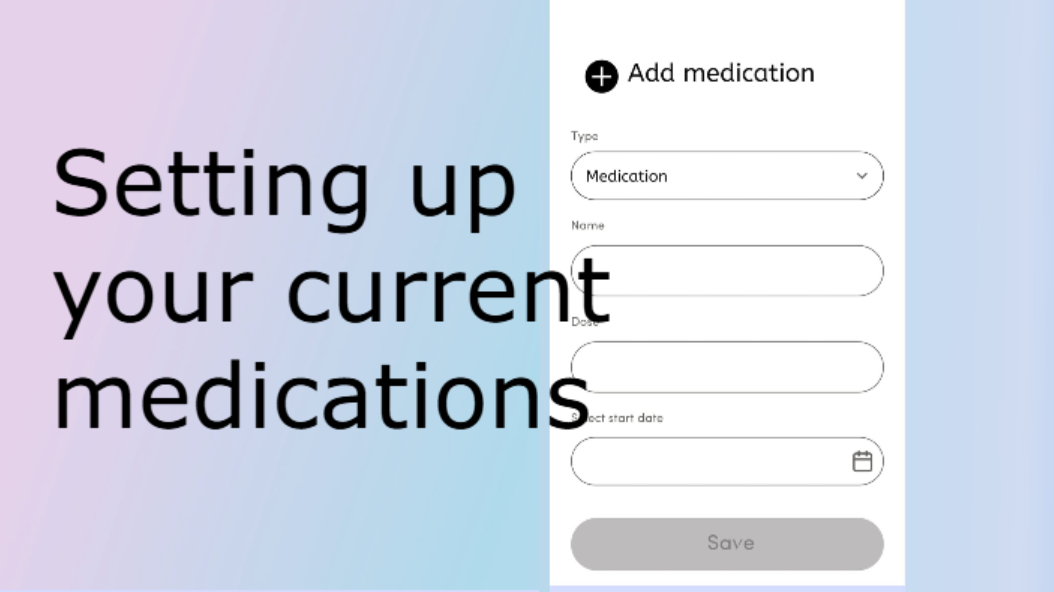
Setting up your current medications

Setting up your vaccines

Creating sub accounts for dependents/loved ones

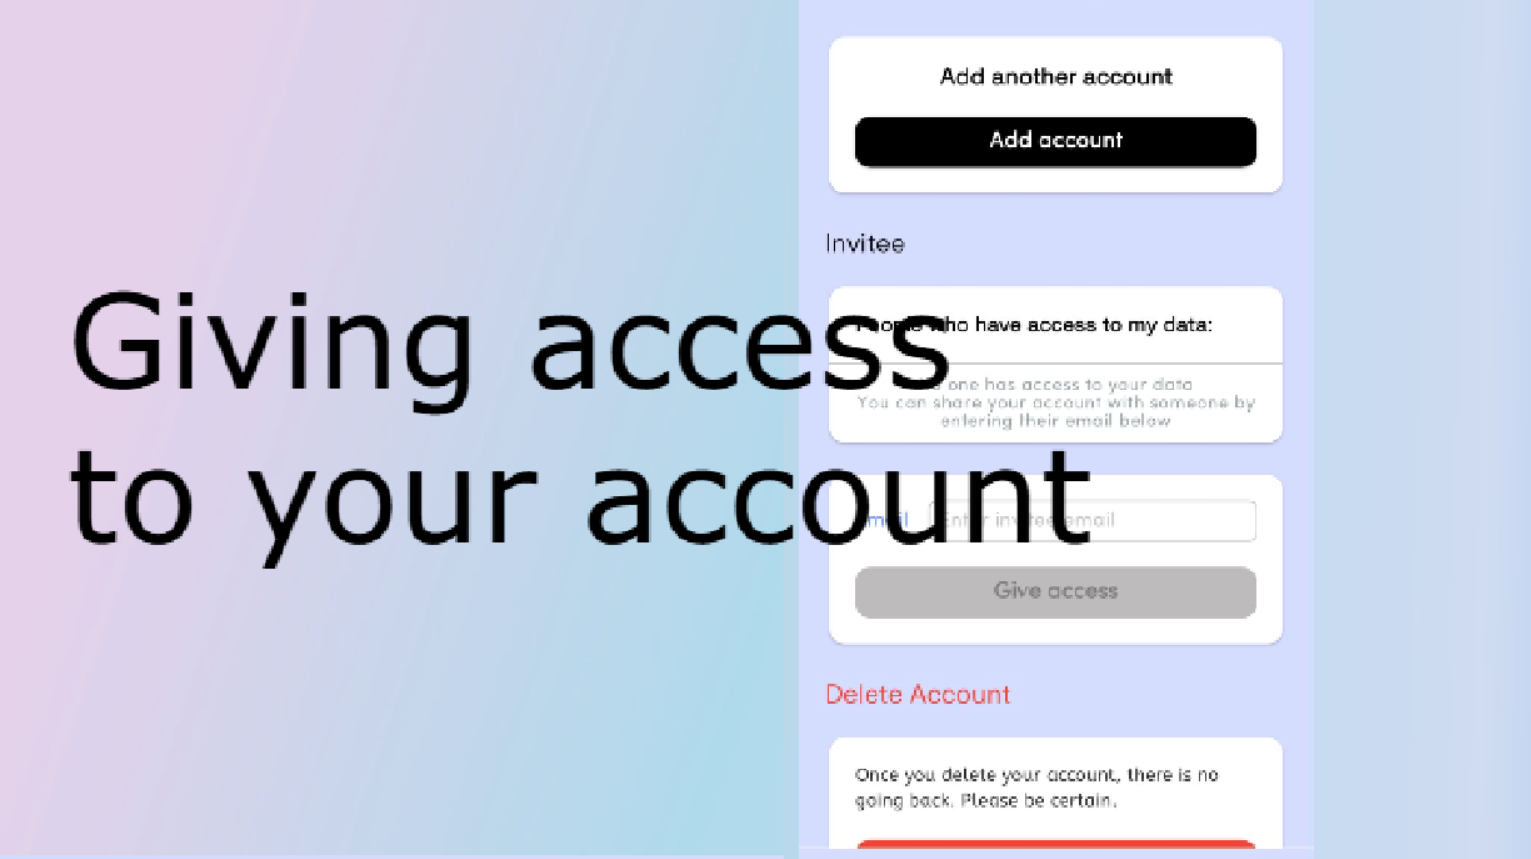
Giving access to your account

Switching between users

How to share records and how to move records between folders